

Whether you're a seasoned decorator or just starting out, mastering the art of heat transfer application requires attention to detail, precision, and a keen understanding of best practices. Applying custom heat transfers can yield fantastic results when done correctly, but there are several common mistakes that people make during the application process. Not only can these mistakes lead to adhesion issues, but they can also diminish the life of the applied transfer with a noticeable decrease in washability and durability. Here are some of the top mistakes to avoid when applying custom heat transfers:
Mistake 1: Insufficient Heat and Pressure
One of the most critical factors in heat transfer application is ensuring adequate heat and pressure. Insufficient heat and pressure can result in incomplete transfer activation and compromised adhesion. To avoid this mistake, always use a heat press with accurate temperature control and follow the manufacturer's recommendations for the recommended temperature and pressure settings.

Every package will arrive with printed application instructions that recommend the required temperature, dwell time, pressure, and peel for the specific product you’ve ordered.
You should receive at least one extra transfer with each order. This extra transfer is supplied so that you can dial in your heat and pressure settings before beginning the application process. You can cut this extra transfer into multiple pieces so that you can conduct multiple tests.
Mistake 2: Incorrect Temperature Settings
Using the wrong temperature settings can lead to transfer failure or damage to the garment. It's essential to verify the recommended temperature settings for the specific type of heat transfer material being used and ensure that the heat press is calibrated correctly. Investing in a quality heat press with precise temperature control can help prevent this mistake and ensure consistent results.
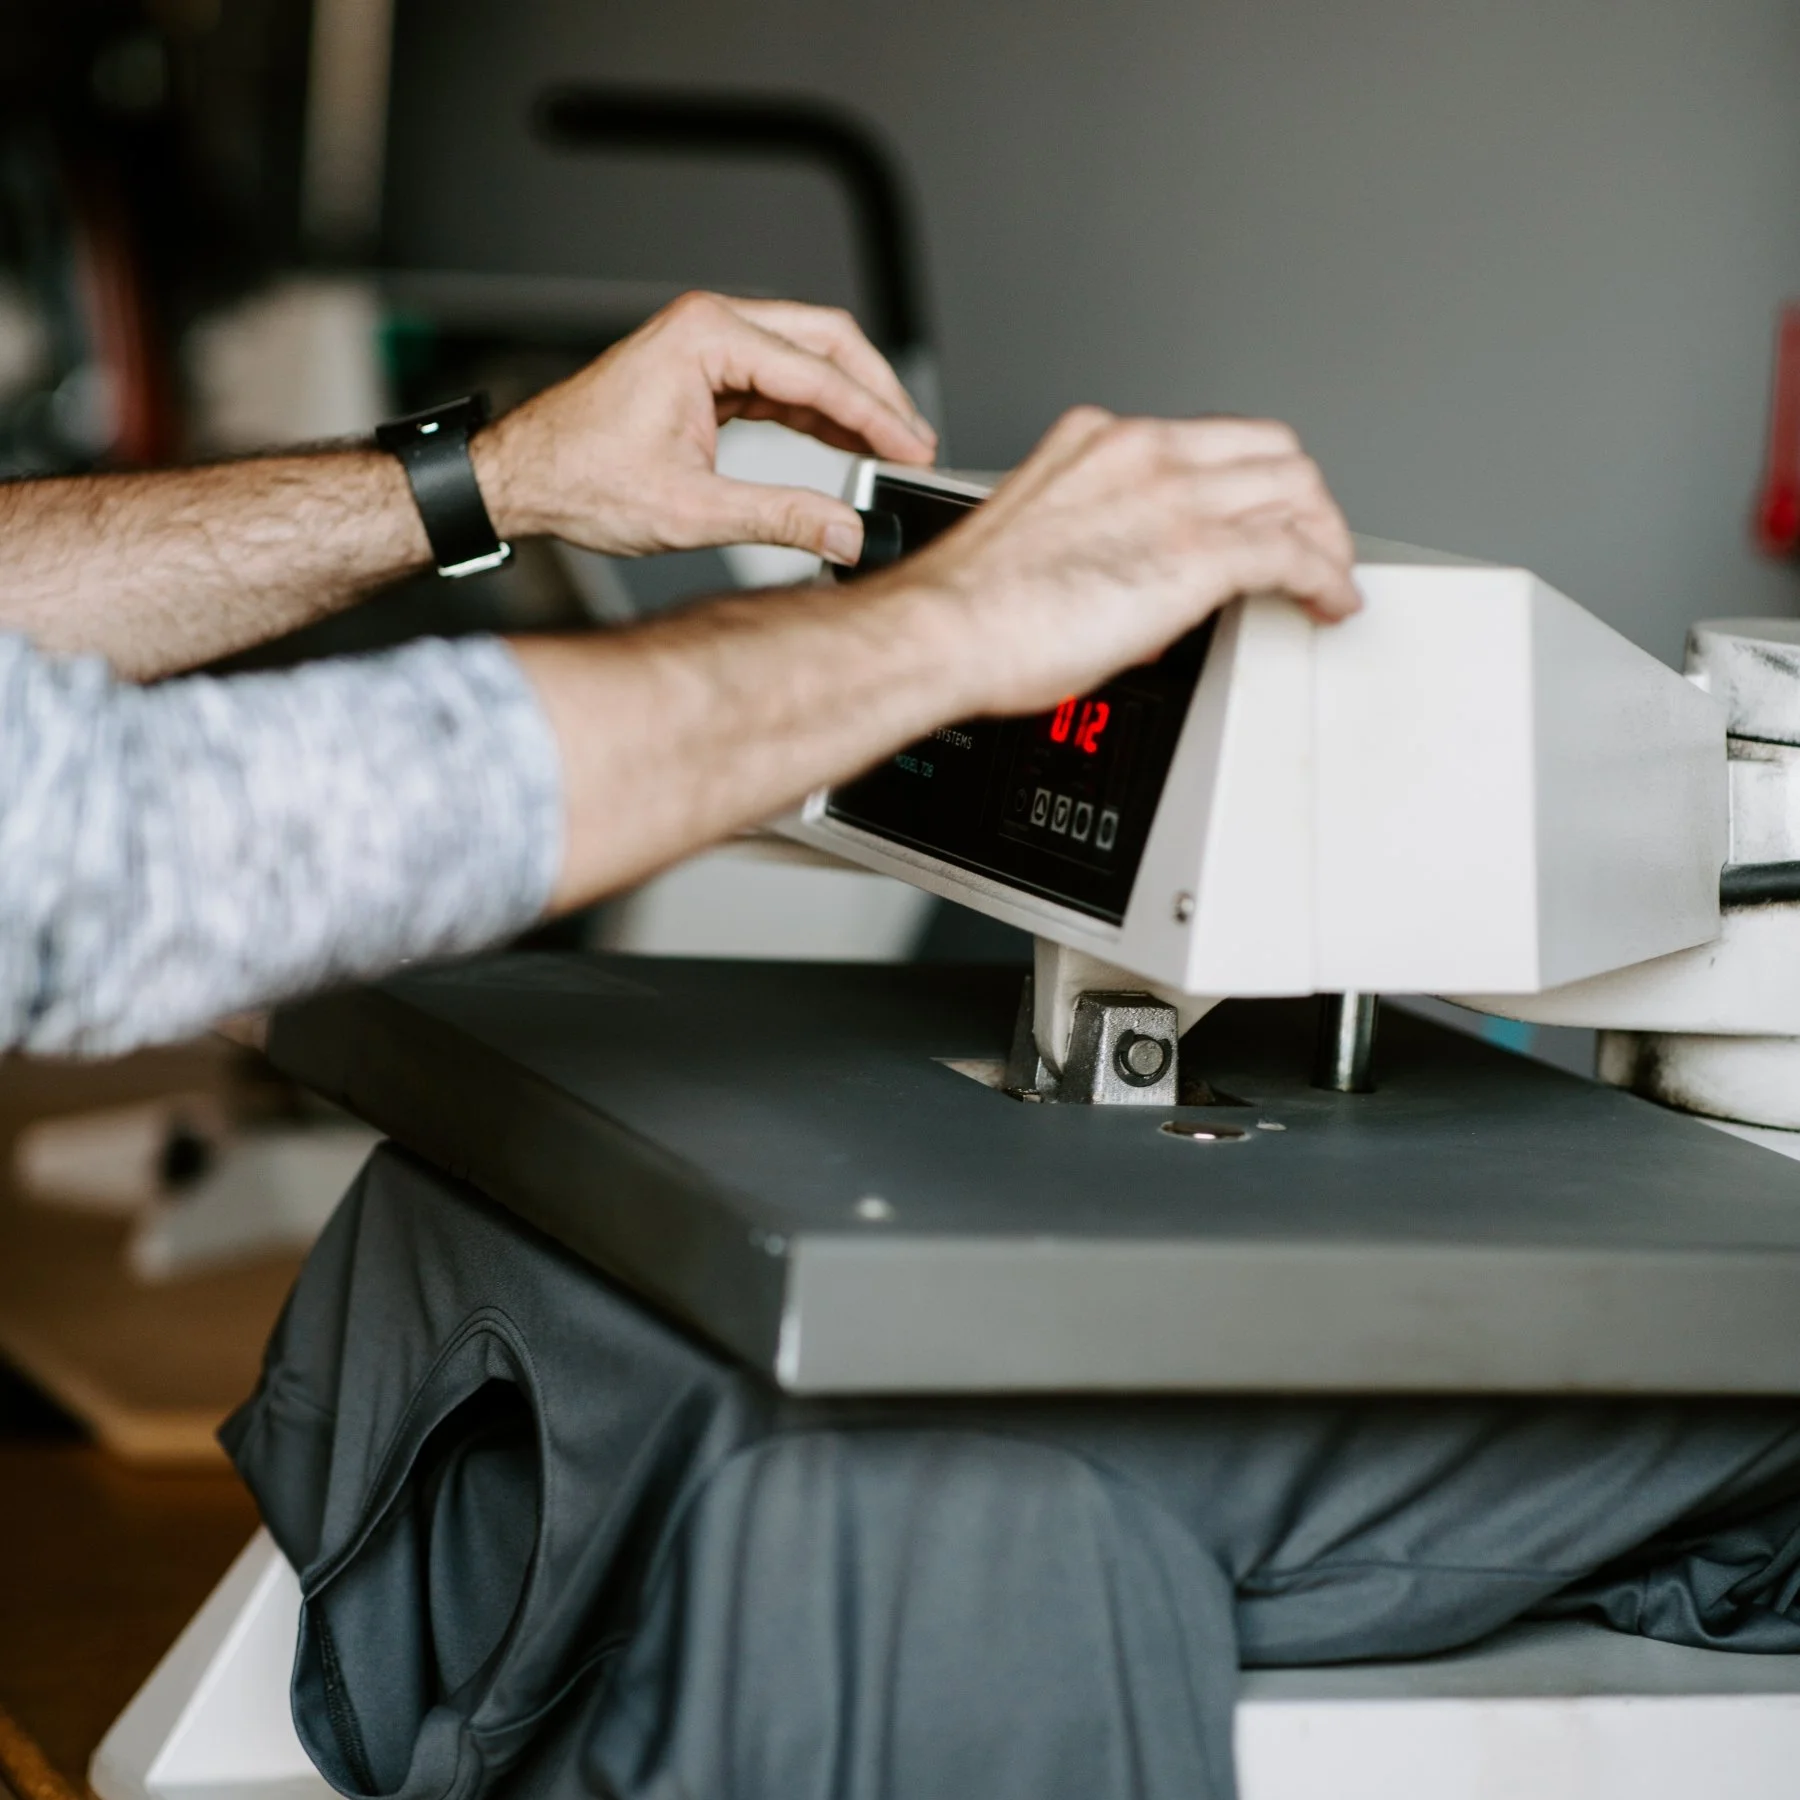
Inaccurate temperature settings can cause over or under application of your custom transfers.
If you suspect that your temperature settings or readout is inaccurate, you can use thermal labels or heat-sensitive strips to verify the actual temperature. Thermal labels or heat-sensitive strips are adhesive strips that change color based on temperature. Place the thermal label or heat-sensitive strip on the heat press platen and apply heat. The color change indicates the temperature of the platen, allowing you to gauge the accuracy of the temperature settings. This method for measuring temperature will be more precise than using an infrared thermometer.
Mistake 3: Inconsistent Pressure Distribution
Uneven pressure distribution across the heat press platen can result in uneven transfer activation and compromised adhesion. To achieve consistent results, ensure that the garment is positioned evenly on the press and that the pressure is applied uniformly across the entire transfer area, avoiding obstructions like zippers or seams. Adjust the pressure settings as needed to ensure even distribution and optimal adhesion.

Check your heat press for consistent pressure using copy paper or dollar bills.
It's important to routinely check that your heat press is properly calibrated to maintain consistent pressure across the entire platen. You can easily test for inconsistent pressure simply using copy paper or dollar bills. Place strips of paper around the perimeter of the lower platen. Close the press with enough pressure to hold the paper in place and try to remove the paper. Identify any areas of uneven pressure and adjust the heat press settings or reposition the garment accordingly.
Mistake 4: Improper Pre-Heating and Prepping
Pre-heating the garment helps remove wrinkles and moisture, while also ensuring a clean and smooth application surface. Skipping these steps or rushing through them can compromise the transfer's adhesion and longevity. Take the time to pre-heat the garment and prep the surface properly using a lint roller to achieve optimal results.
Mistake 5: Peeling Too Early or Too Late
Peeling the transfer carrier too early or too late after the application can affect adhesion. Follow the recommended peel instructions, typically ranging from hot peel (peeling immediately after pressing) to cold peel (allowing the transfer to cool before peeling). Consistently adhere to the recommended peel times to ensure optimal transfer activation and adhesion.

Understanding how each product needs to be peeled is essential to a successful application.
When the peel instructions indicate either a hot or cold peel, this is likely a factor of the substrate the transfer is being applied to. For instance, most nylon applications will require a cold peel, whereas the same transfer on a cotton tee would call for a hot peel.
Mistake 6: Using the Wrong Cover Sheet
The purpose of a cover sheet is to protect the transfer and garment from direct contact with the heat press platen, which can sometimes lead to scorching or damage. However, in some cases, the cover sheet can interfere with the transfer's adhesion to the garment by creating a barrier between the transfer and the fabric. This can result in insufficient temperature reaching the transfer and causing adhesion issues or washability issues.

Are you using a cover sheet unnecessarily? Some cover sheets can reduce the application temperature by as much as 20°F.
While there are situations where using a cover sheet may be necessary or beneficial, such as when protecting delicate fabrics or preventing scorching, it's essential to consider the specific requirements of the heat transfer product and the garment being decorated. A typical Teflon cover sheet may decrease the temperature reaching the transfer by as much as 20°F. We would recommend increasing the temperature on your heat press to compensate for the heat loss when using this method. Likewise, a silicone pad will diminish the temperature of the application. In this case, we recommend increasing the dwell time by as much as double.
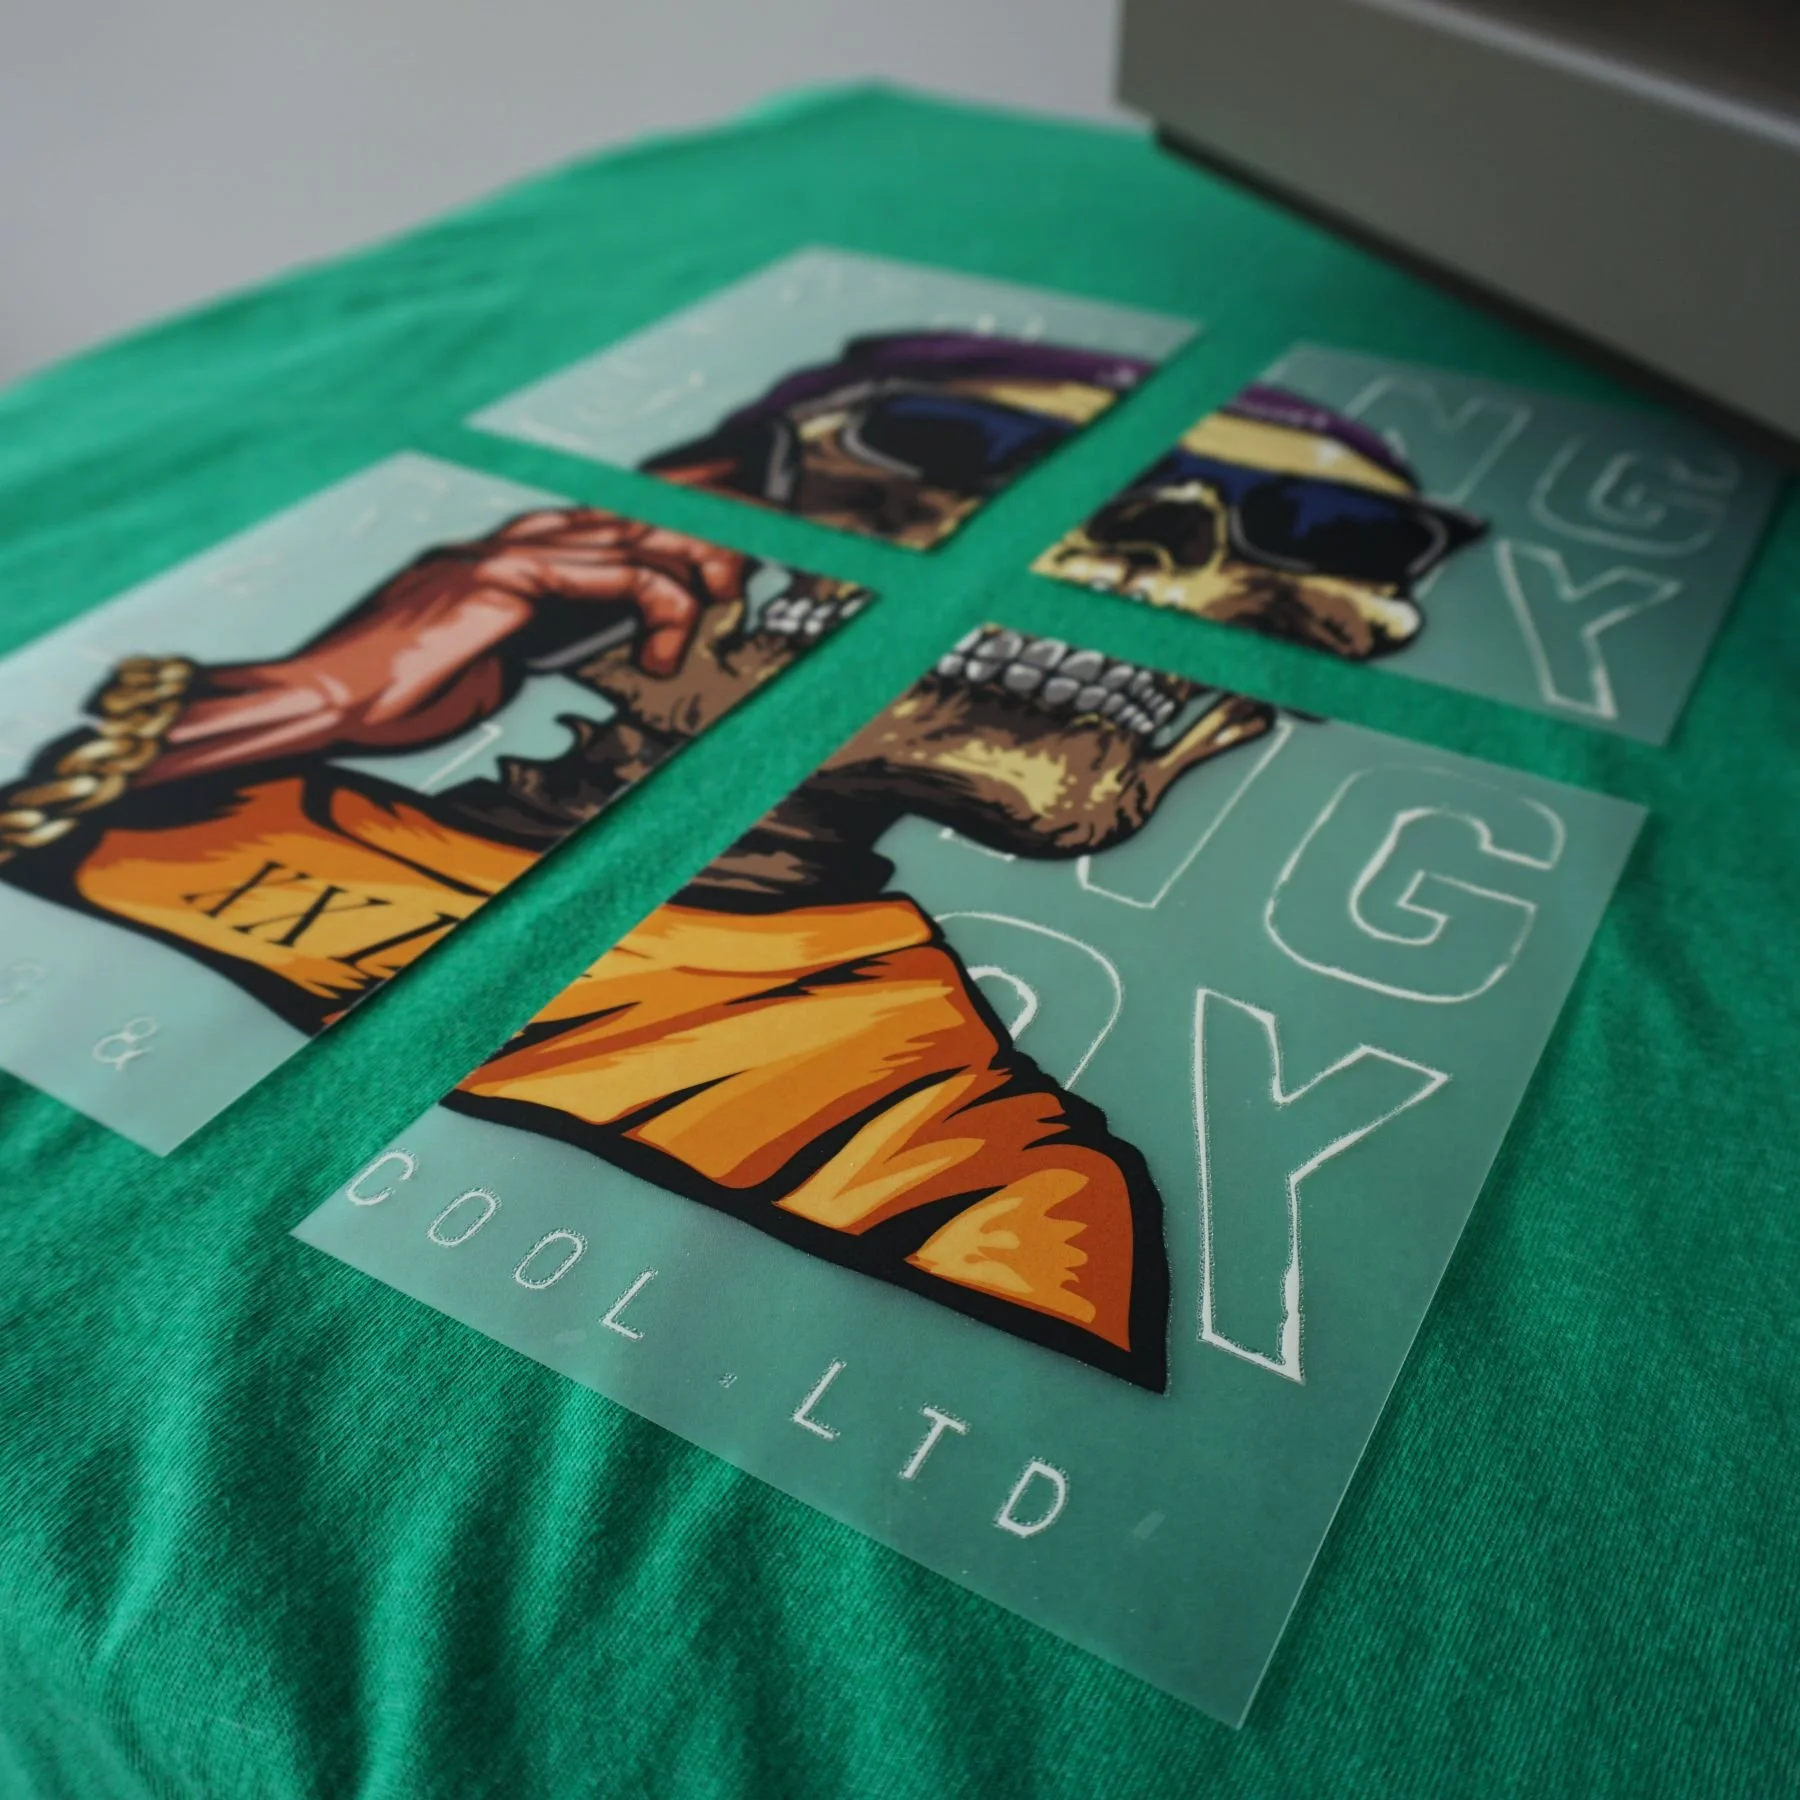
Mistake 7: Overlapping Transfers
Applying transfers too close to each other or overlapping them can result in transfer interference and compromised adhesion. Leave sufficient space between transfers to ensure proper activation and adhesion without interference from neighboring transfers. Take care to plan the layout carefully and avoid overlapping transfers to achieve professional-quality results.
Mistake 8: Improper Garment Compatibility
Not all fabrics and garment types are suitable for heat transfers. It's essential to consider the fabric composition, color, and texture when selecting heat transfer materials to ensure compatibility and optimal adhesion. Conduct compatibility tests on sample garments before proceeding with full production runs to avoid transfer failure or subpar results.
Request free samples or use the extra transfer included with each order to conduct application tests on your garment. This will help reduce errors once you begin the job.
You can request a set of free samples from our website that will include one of each of our most popular transfer products. Another option is to request a specific product sample from your Customer Service Representative. We’re more than happy to provide transfers for testing so that you can ensure you’re selecting the right product for the job.
Conclusion
Mastering the art of custom heat transfer application requires attention to detail, precision, and adherence to best practices. By avoiding common mistakes, you can achieve professional-quality results and maximize the longevity and durability of your custom heat transfers. With practice, patience, and a commitment to excellence, you can elevate your heat transfer game and bring your creative vision to life with confidence and precision.