

We asked our team to share their best application tips and tricks. Check out these answers from Howard’s finest and the industry’s best:
“Hit Glitter with a Teflon sheet for a couple of seconds after applying to really make it pop! This will also add a bit of gloss to regular MP orders as well, if you’re looking for less of a matte finish.”
“Ditch the Teflon cover sheet unless you’re doing a fancy two-step application. It’ll drop the temperature up to 20 degrees and you could wind up with adhesion issues. Instead, try using parchment or silicone paper as a cover sheet, but most products require no cover sheet at all!”
Use parchment or silicone paper as a cover sheet instead of Teflon which could lower the application temperature.
“Pre-press garments! This will help to remove creases, also a pre-press is important to extract the moisture from the garment.”
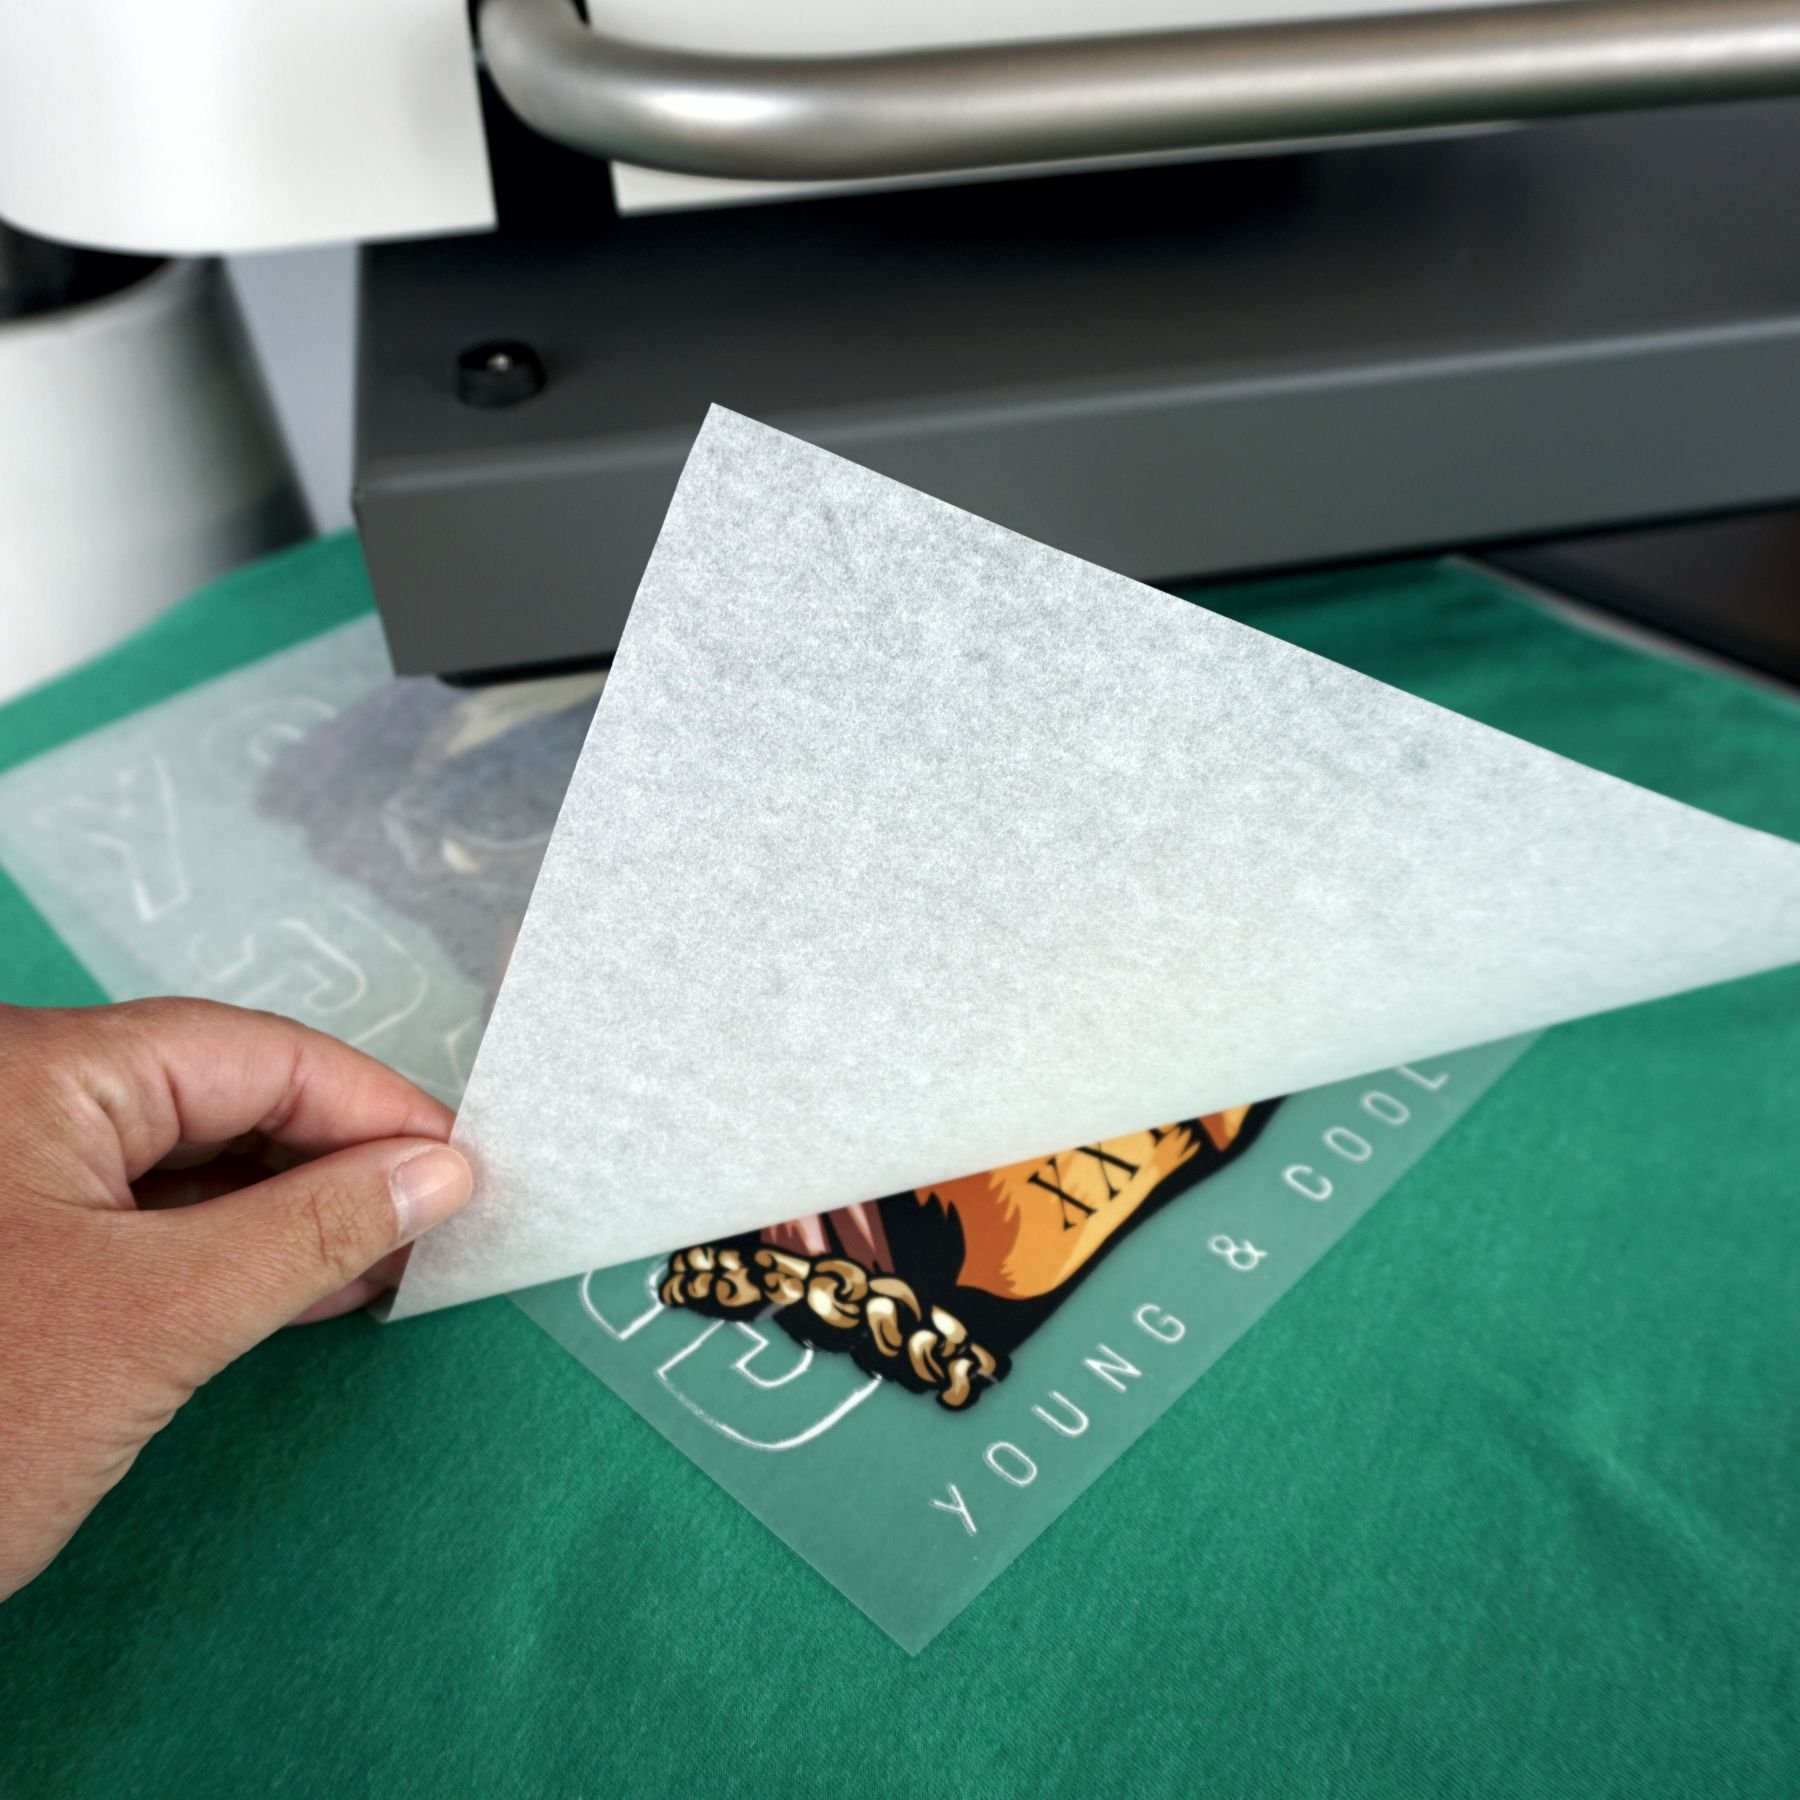
“Here’s a quick and easy way to center a transfer on your shirt - fold the shirt in half and do a quick press, then curl your transfer in half (don’t fold it all the way!) and lightly crease the middle of the sheet at the very top edge. You can now line up the middle crease on your transfer with the middle crease of the shirt!”
“Slip a heat pillow underneath your garment if you’re seeing harsh lines from your platen. Throw parchment or silicone paper as your cover sheet, as well. It’ll reduce the appearance of scorch marks.”
“When printing an image on a sleeve, if you don’t have access to a hat press, create a slight crease by pre-pressing the garment to find the center line. Align your design on the crease you’ve just created, then be sure to shift the sleeve so that the inseam isn’t directly under the image being pressed. That will prevent the seam from imprinting or damaging the image once applied.”
“Utilize the extra sheets that are sent with each order to make sure everything in your layout looks correct before starting to print your job. There’s nothing worse than printing an entire order only to find out there was a spelling error.”

Use the extra sheets that come with your order to test print before you begin application. Extra credit if you cut it into quarters so you can test multiple settings if needed!
“After applying your transfer, double check that all the edges are sealed with no lifting. If you see any edges coming up, flip another transfer 180 degrees/upside down and press again. If you see edges lifting in the same portion of the press, but different portion of the image, there may be a pressure issue.”
“Working with hole-y mesh? 🤣 Opt for our Revolution Vinyl, Evergreen, or colorVIBE. The design will stay intact and not seep through the holes.”
“Don’t print the green sheet!”
“Soften the appearance of the clear adhesive border on colorVIBE orders by re-applying for a few seconds with a silicone or parchment cover sheet after the first press. You can also do this to give the transfer a softer hand with more shirt texture if you prefer that look and feel.”